Indoor Herb Propagation: How to Start Herbs from Cuttings Successfully at Home
Imagine turning one healthy herb plant into several new ones without buying seeds or visiting a garden center. Many herbs can grow from small stem pieces. This simple technique allows home gardeners to multiply their plants easily.
This process is known as indoor herb propagation from cuttings. Instead of growing plants from seeds, you grow a new herb plant from a stem of an existing one. With proper light, moisture, and temperature, roots develop from the stem and form a completely new plant.
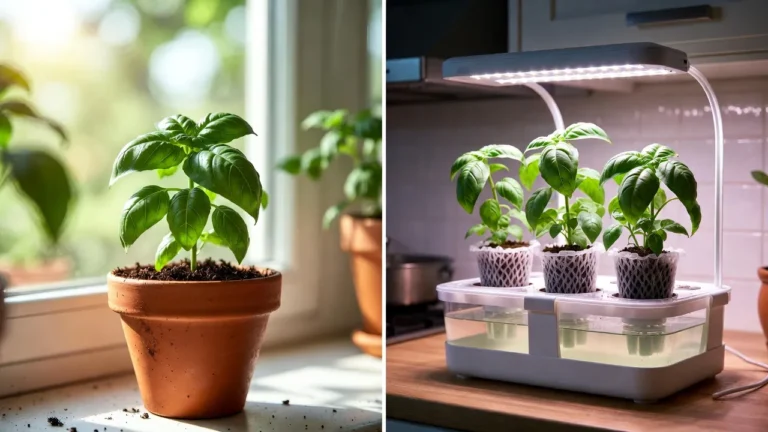
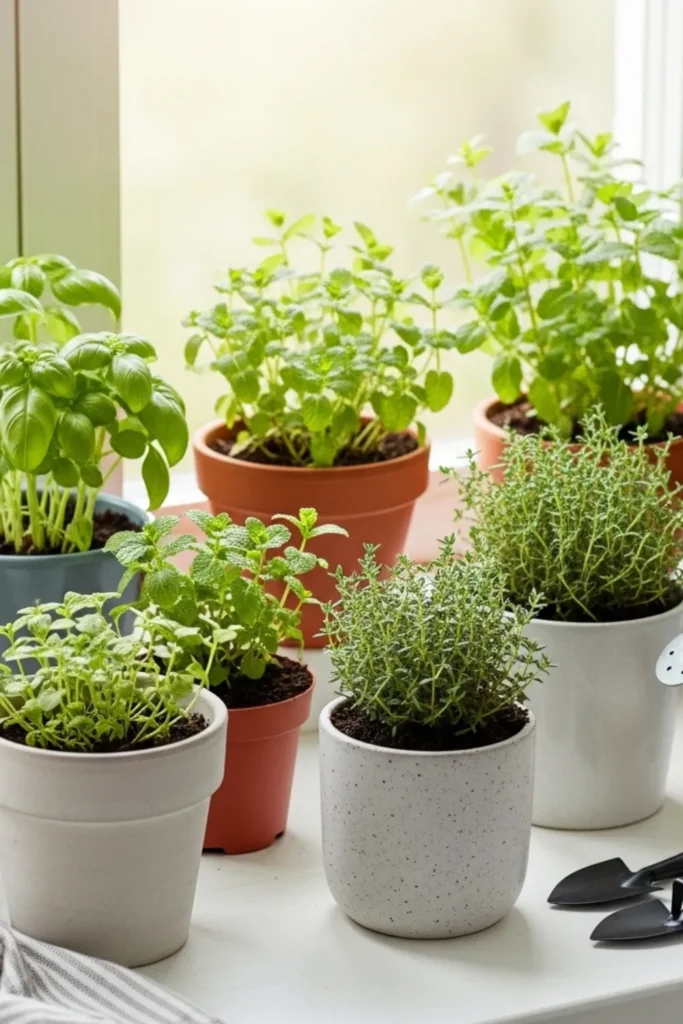
For anyone growing herbs on a windowsill, kitchen counter, or indoor garden shelf, this method provides an easy way to maintain a steady supply of fresh herbs year-round.
To get the best results, it also helps to understand where to place indoor herbs so they receive enough light and airflow.
What Propagating Herbs from Cuttings Means
Propagation from cuttings is a method of vegetative propagation, a process where plants reproduce without seeds.
A small section of a stem is removed from a mature herb plant and placed in water or soil. Under the right conditions, the cutting develops roots and eventually becomes a new plant.
The most important part of the cutting is the plant node. Nodes are the points on the stem where leaves emerge. These areas contain specialized plant cells capable of forming new roots.
Once the cutting is placed in a suitable environment, the plant begins a natural biological process called root development, allowing the stem to grow into a fully independent herb plant.
Because the new plant grows from an existing one, it keeps the same flavor, aroma, and growth characteristics.
Why Growing Herbs from Cuttings Is So Popular
Many indoor gardeners prefer this technique because it offers several practical advantages.
Faster growth
Seeds may take weeks to germinate, while cuttings often begin forming roots within days.
Reliable results
The new plant is genetically identical to the parent plant, so its flavor and growth habits remain consistent.
Cost savings
Instead of buying several herb plants, a single healthy plant can produce multiple new ones.
Continuous herb supply
Propagation allows gardeners to replace older plants and keep their indoor herb garden productive.
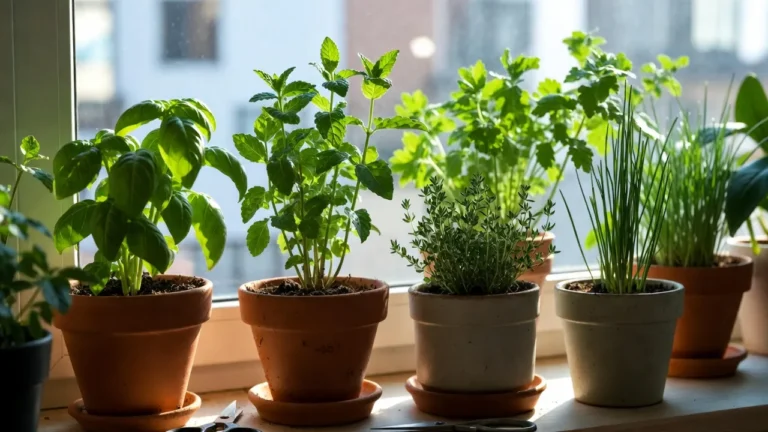
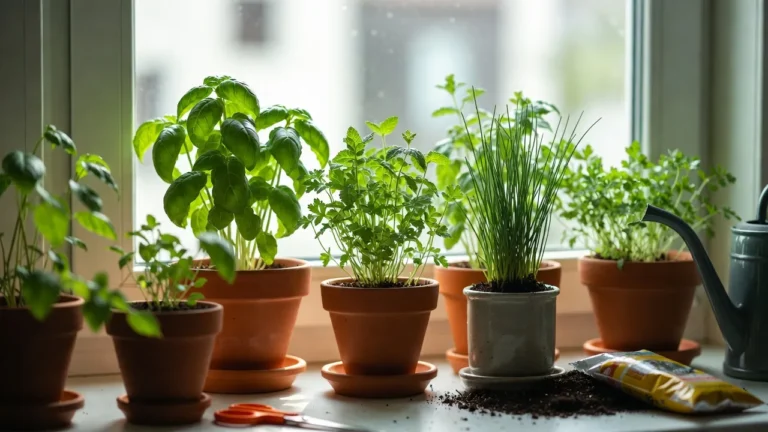
Herbs That Grow Easily from Cuttings
Many common kitchen herbs root quickly indoors.
Herb | Difficulty | Rooting Time |
|---|---|---|
Basil | Very easy | 5–10 days |
Mint | Very easy | 5–7 days |
Oregano | Easy | 7–14 days |
Lemon balm | Easy | 7–14 days |
Thyme | Moderate | 10–20 days |
Rosemary | Moderate | 2–4 weeks |
Sage | Moderate | 2–4 weeks |
Herbs with soft stems usually root faster, while herbs with woody stems may take longer.
Basil and mint are usually the easiest choices for beginners.
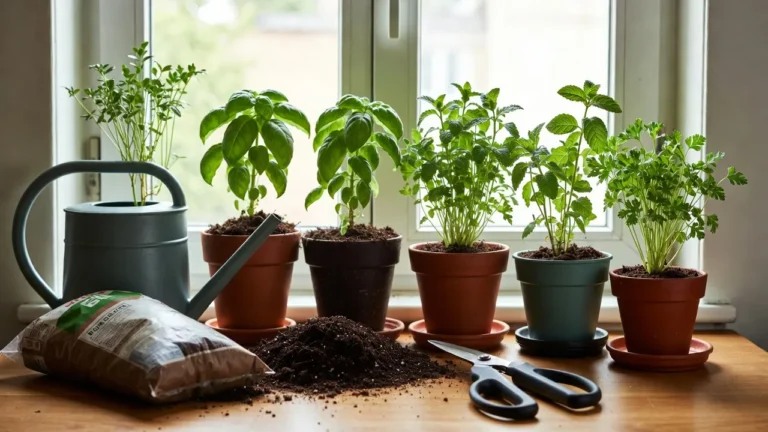
Tools You Need for Indoor Herb Propagation
Propagating herbs indoors requires very few tools.
Most home gardeners already have everything needed.
Basic items include:
- clean pruning scissors or garden snips
- a small glass or jar
- potting mix (if using soil)
- small containers or pots
- clean water
Some gardeners also use additional tools to improve success rates.
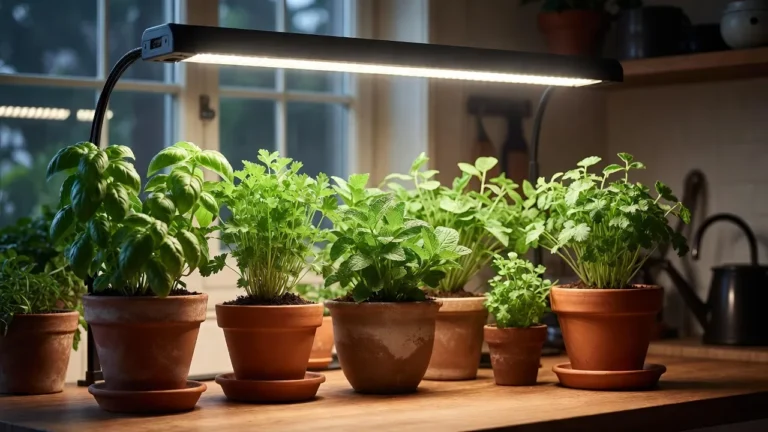
Optional tools include:
- propagation trays
- rooting gel or rooting hormone
- grow lights
- spray bottle for moisture
Keeping tools clean is important because bacteria or fungi can damage delicate cuttings.
If you’re unsure about soil types, you can learn more about choosing the right soil for indoor herbs to support healthy root growth.
Step-by-Step: Preparing Herb Cuttings

Before choosing a propagation method, you need to prepare the cutting correctly.
1. Choose a healthy plant
Select a mature herb plant that is:
- vibrant green
- actively growing
- free from pests or disease
Avoid stems that are already flowering because they tend to root more slowly.
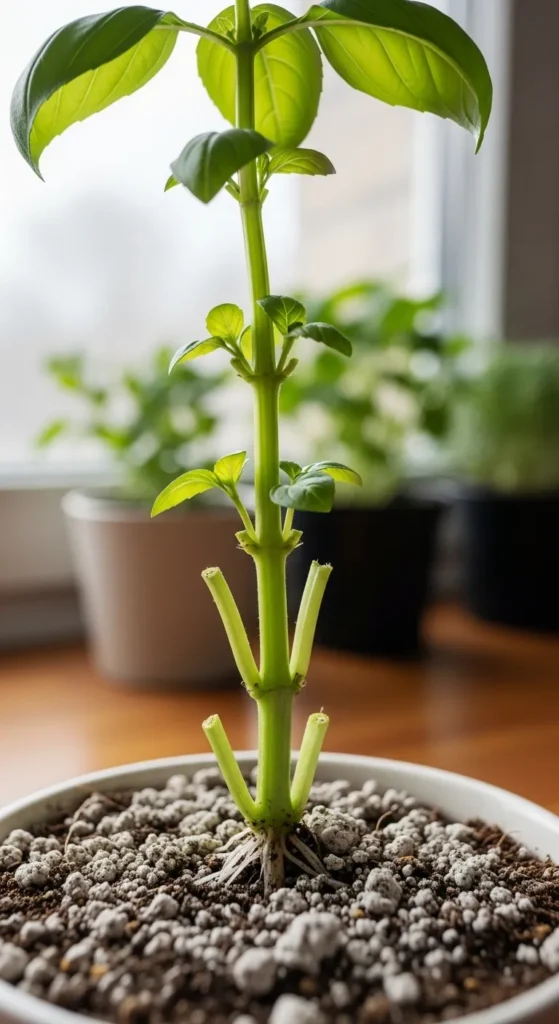
2. Cut the stem correctly
Using clean scissors, cut a 4–6 inch section of stem just below a leaf node.
The cutting should contain several nodes because these areas are where roots form.
I always recommend choosing stems that are actively growing because young stems contain more energy for root development.
3. Remove lower leaves
Remove leaves from the bottom half of the cutting.
This prevents leaves from sitting in water or soil, which can cause rot or fungal growth.
Leave a few healthy leaves at the top so the plant can continue photosynthesis.
Once the cutting is prepared, the next step is choosing how you want the stem to develop roots.
Method 1: Water Propagation (Detailed Step-by-Step)
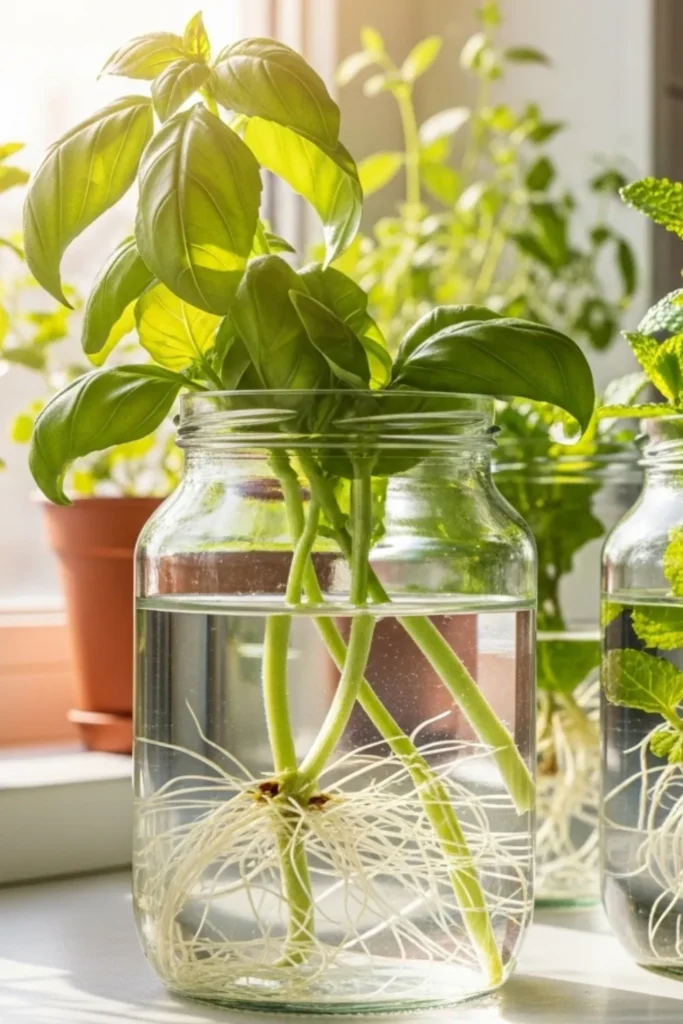
Water propagation is one of the simplest ways to root herb cuttings indoors because you can watch roots develop in real time.
Herbs such as basil, mint, oregano, and lemon balm root especially well using this method.
Step 1: Prepare a clean container
Fill a small glass jar or container with room-temperature water. Clear glass works best because it allows you to observe root growth.
Step 2: Place the cutting in the water
Insert the stem into the container so that one or two nodes are submerged in water.
Make sure the remaining leaves stay above the water surface.
If leaves sit in water, they may rot and introduce bacteria that damage the cutting.
Step 3: Provide proper light
Place the container in an area with bright indirect sunlight, such as:
- a sunny kitchen windowsill
- a shelf near a window
- beneath an indoor grow light
Avoid strong direct sunlight because it can overheat the water and stress the plant.
Step 4: Refresh the water regularly
Fresh water prevents bacterial growth and keeps oxygen levels high.
Best practice is to:
- change the water every 2–3 days
- rinse the container before refilling
This small step greatly improves propagation success.
I have found that changing the water frequently makes a noticeable difference because fresh oxygen helps roots develop faster.
Step 5: Watch for root formation
After a few days, small white roots may begin to appear from the nodes.
Typical development timeline:
Stage | Time |
|---|---|
Stem adjustment | 2–4 days |
Small root bumps | 5–7 days |
Visible roots | 7–14 days |
Strong roots | 2–3 weeks |
Fast-growing herbs like mint can develop roots in less than a week.
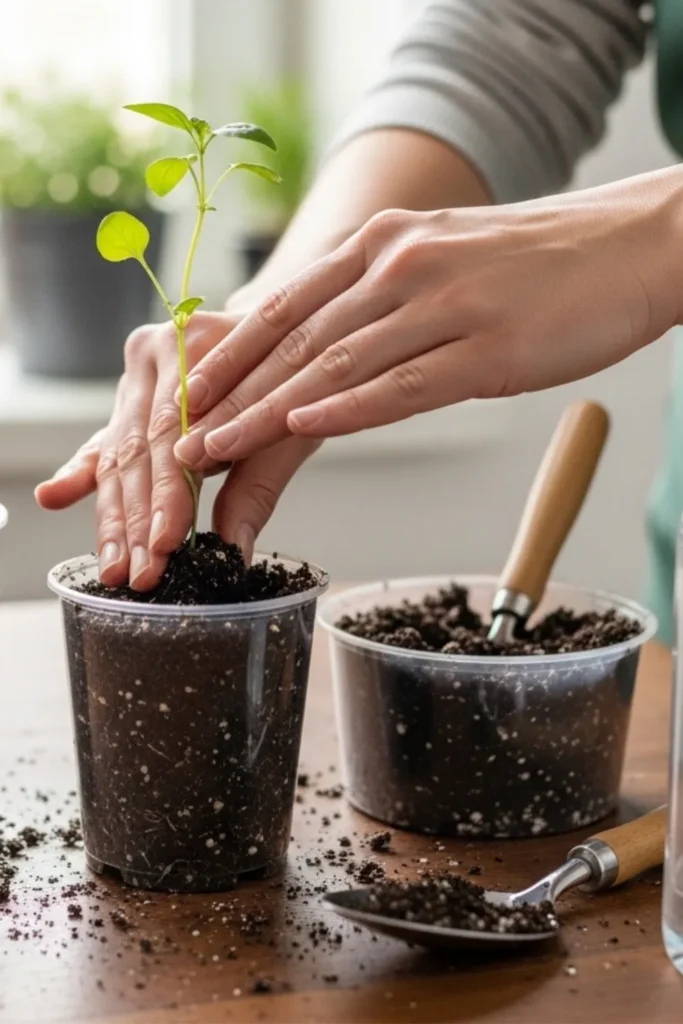
Step 6: Move the cutting into soil
Once roots reach about 2–3 cm (1 inch), the cutting should be transferred into soil.
Plant the rooted cutting in a small pot filled with moist potting mix and water lightly.
This allows the plant to develop a stronger root system and continue growing.
Method 2: Soil Propagation (Detailed Step-by-Step)
Soil propagation allows cuttings to develop roots directly in growing medium. This often produces stronger roots and healthier plants.
Woody herbs such as rosemary, thyme, and sage usually respond better to this method.
Step 1: Prepare a suitable potting mix
Use a light, well-draining potting mix rather than heavy garden soil.
Good propagation mixes often include:
- coco coir or peat moss
- perlite or vermiculite
- organic compost
This mixture allows roots to receive moisture while still getting enough oxygen.
Understanding the difference between soil and hydroponic growing methods for herbs can also help you choose the best approach for your setup.
Step 2: Moisten the soil
Before planting the cutting, lightly moisten the potting mix.
The soil should be damp but not soaked.
Excess water can suffocate developing roots.
Step 3: Optional – apply rooting hormone
For herbs that root slowly, a small amount of rooting hormone can improve success.
Rooting hormones often contain plant growth compounds such as indole-3-butyric acid, which encourage root formation.
Dip the cut end of the stem into the hormone and shake off the excess.
Step 4: Insert the cutting into the soil
Create a small hole in the potting mix using a pencil or stick.
Insert the stem so that at least one node is buried in the soil.
Press the soil gently around the stem to keep it stable.
Step 5: Water lightly
Water the soil gently after planting.
The soil should stay slightly moist, but it should never become soggy.
In many cases, overwatering can lead to serious issues like root rot in indoor herbs, which can quickly damage young plants.
Step 6: Maintain proper growing conditions
Cuttings root best in a stable indoor environment.
Ideal conditions include:
Factor | Recommended Range |
|---|---|
Temperature | 18–24°C |
Light | Bright indirect |
Humidity | Moderate |
Air circulation | Light airflow |
Some gardeners place a humidity dome or loose plastic cover over the pot to retain moisture during early rooting.
Step 7: Check for root growth
Because roots develop underground, you cannot see them directly.
Signs that the cutting has rooted include:
- new leaf growth
- stronger stem structure
- gentle resistance when the cutting is lightly tugged
Most herbs develop stable roots within 2–4 weeks.
Water vs Soil Propagation: Quick Comparison
Feature | Water Method | Soil Method |
|---|---|---|
Ease for beginners | Very easy | Moderate |
Root visibility | Visible | Hidden |
Root strength | Moderate | Strong |
Best herbs | Basil, mint | Rosemary, thyme |
Transplant shock | Possible | Minimal |
Both methods work well. Many gardeners experiment to see which approach suits their herbs best.
Environmental Conditions That Improve Rooting Success
Regardless of which propagation method you choose, environmental conditions play a major role in root development.
Key environmental factors include:
Temperature
Most herbs root best between 18–24°C.
Light
Bright indirect light supports photosynthesis and root development.
Humidity
Moderate humidity helps prevent the cutting from drying out before roots develop.
Airflow
Gentle air circulation prevents fungal problems and strengthens plant growth.
In my experience, stable temperature and consistent light are the two factors that most strongly influence successful herb propagation indoors.
Common Problems When Propagating Herb Cuttings
Even when the steps are followed correctly, a few common problems can still occur during propagation.
Cuttings turning black or rotting
This usually happens when:
- water is not changed regularly
- the stem is submerged too deeply
- bacteria develop in the container
No roots developing
Possible causes include:
- insufficient light
- stems taken from unhealthy plants
- temperatures that are too low
Leaves wilting quickly
Wilting can occur if the cutting loses moisture faster than it can absorb water.
Providing stable humidity often helps.
Expert Tips for Successful Herb Propagation
Small adjustments can significantly improve propagation success.
Use actively growing stems
Cuttings taken during active growth root faster than older woody stems.
Avoid flowering stems
When plants start flowering, they focus energy on reproduction rather than root growth.
Change water regularly
Fresh water helps prevent bacteria buildup.
Use rooting hormone for difficult herbs
Products containing indole-3-butyric acid (IBA) can encourage root formation in slower-rooting herbs like rosemary.
Provide consistent warmth
Propagation mats or warm indoor environments support faster root development.
When and How to Transplant Rooted Herb Cuttings
Once roots are about 2–3 cm long, the cutting is ready to move into soil.
Steps for transplanting:
- Fill a small pot with potting mix.
- Make a small hole in the soil.
- Place the cutting gently into the hole.
- Cover the roots with soil.
- Water lightly.
For the first week after transplanting, keep the soil slightly moist while the plant adapts.
Other Ways to Propagate Herbs
Stem cuttings are the most common indoor propagation method, but they are not the only option.
Other methods include:
Growing herbs from seeds
Seeds are widely available and allow gardeners to grow many varieties.
Plant division
Some herbs, such as chives or oregano, can be divided into separate plants.
Layering
In this technique, a stem develops roots while still attached to the parent plant.
Tissue culture
This advanced method is used in commercial horticulture to produce large numbers of plants.
For home gardeners, however, stem cuttings remain the easiest and fastest option.
If you’re deciding between methods, you can compare growing herbs from seeds vs seedlings to see which approach suits your needs.
FAQs
1. Can herbs grow from cuttings indoors?
Yes. Many herbs such as basil, mint, oregano, rosemary, and thyme can grow from stem cuttings when placed in water or soil under proper indoor conditions.
2. How long does herb propagation take?
Most herb cuttings develop roots within 1–3 weeks, depending on the species and environmental conditions.
3. Which herbs propagate the fastest?
Mint and basil are among the fastest herbs to propagate and can often produce roots within a week.
4. Do herb cuttings need sunlight?
Yes. Herb cuttings require bright indirect light to support photosynthesis and encourage root development.
5. Can herbs root in water permanently?
Herbs can start growing roots in water, but they should eventually be transferred to soil for long-term growth.
6. Is rooting hormone necessary?
Rooting hormone is optional. Many herbs root naturally, but it can help slow-rooting herbs develop roots faster.
7. Can grocery store herbs be propagated?
Fresh herbs from grocery stores can sometimes root if the stems are still healthy and have intact nodes.
Conclusion
Indoor herb propagation from cuttings is one of the easiest ways to expand a kitchen herb garden. With a healthy plant, a properly prepared stem cutting, and the right environment, new herbs can grow in just a few weeks.
Understanding the difference between water propagation and soil propagation, along with maintaining stable light, temperature, and moisture levels, greatly improves success.
Once you master this simple technique, one herb plant can quickly turn into several thriving plants, keeping your indoor herb garden productive throughout the year.

Hi, I’m Rimsha, founder of Urban Bloomer 🌱
I grow herbs and plants in a small apartment and share what actually works in limited indoor spaces. Over the past few years, I’ve tested different setups, from lighting and soil to watering routines, to find simple methods that make indoor gardening easier.
Here, you’ll find practical, beginner-friendly advice based on real experience, not complicated gardening systems.